Tuesday, December 24, 2013

Part 7 - New Skin for the F150

So it's time to get our F150 looking like a true Trophy Truck.
 
We took it down to BR Wraps in Abbotsford BC to work their magic. In the following images your going to see the process in how our F150 truck is wrapped.
 
Before
 
After


The Process


If you haven't done so already, check us out on Facebook and don't forget to like us to stay up-to-date with us. Thanks


Friday, September 13, 2013

Part 6 - FiberwerX Replacement Bedside Panels

So at the beginning of the build you may have seen our crate of fiberglass fenders come in from FiberwerX. We mounted up the front fenders and we were working on the front suspension at the time. Now it's time to cut up the stock bedside panels for a more appropriate looking fender.
 
 
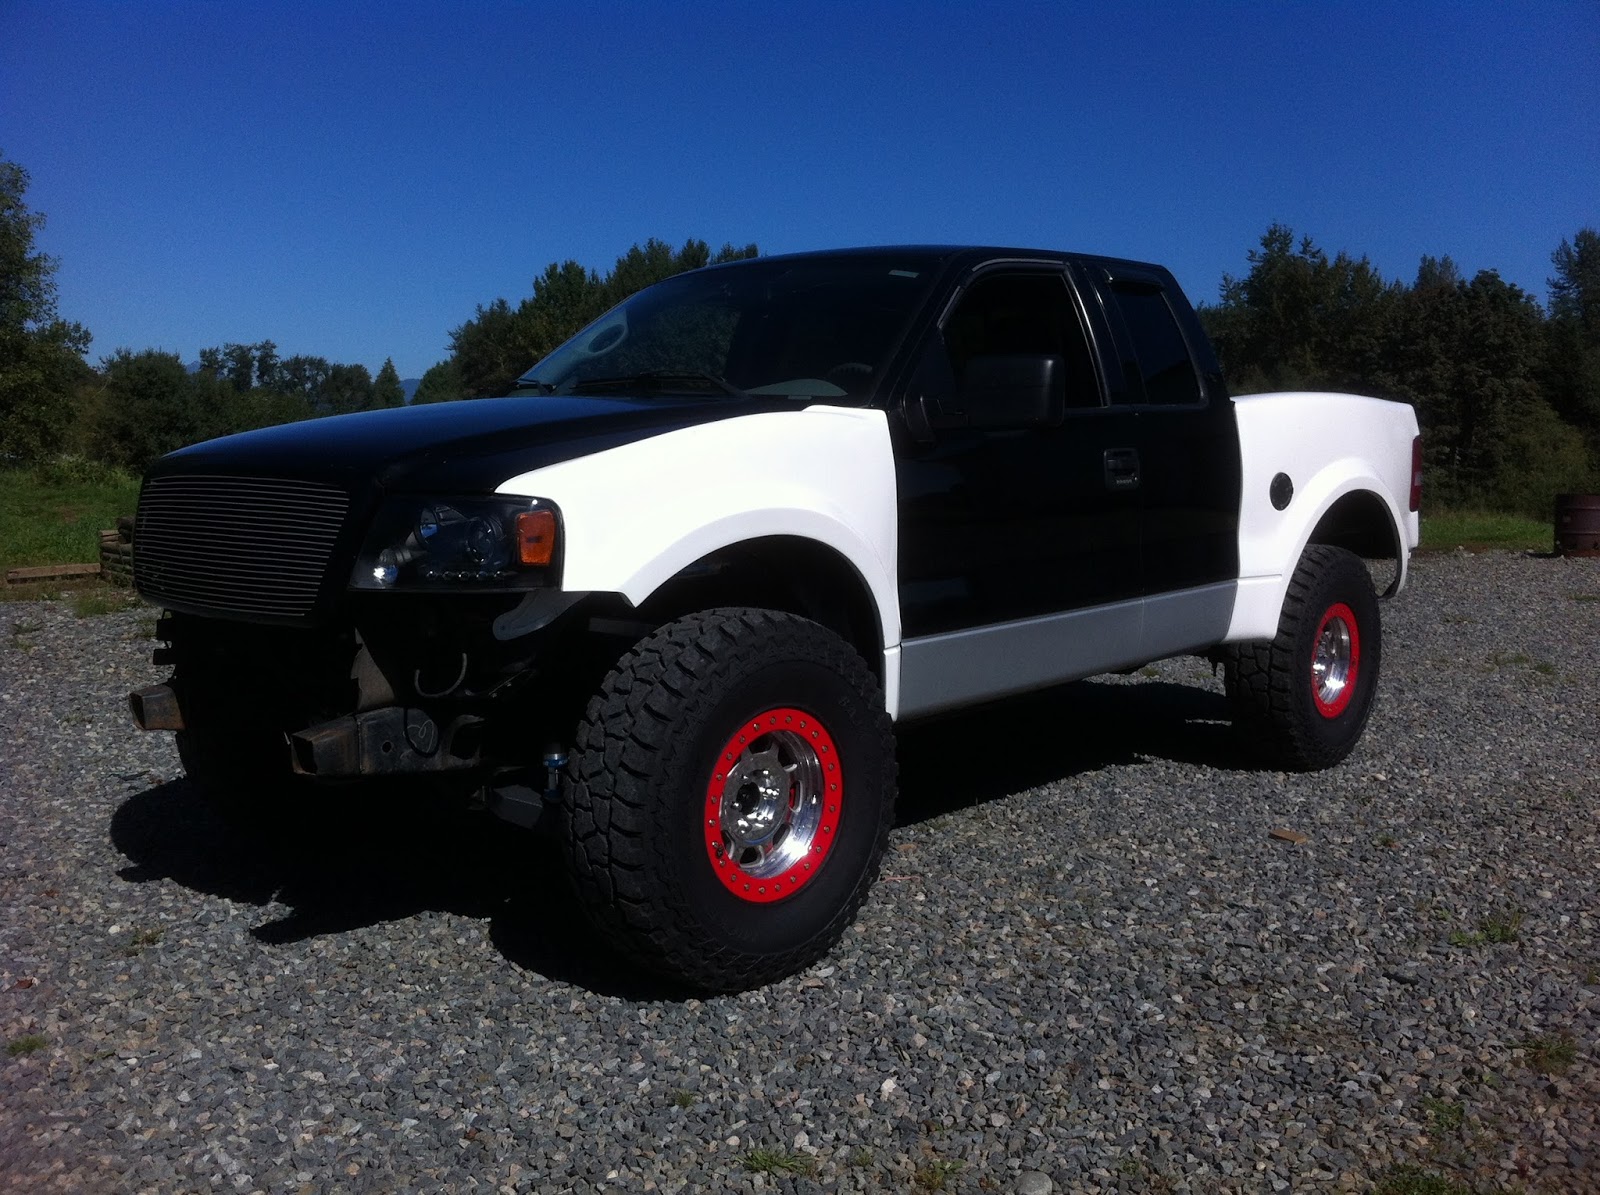
This is what we're starting with and what we're going to achieve
 
 
First, lets get rid of the stock panel.
There's about a million spot welds holding these panels on so we invested in a spot weld removal drill bit to make life much easier.
(Also drilling a 1/8" pilot hole through the weld helps prevent the bit from skating all over the place as you can see)
 
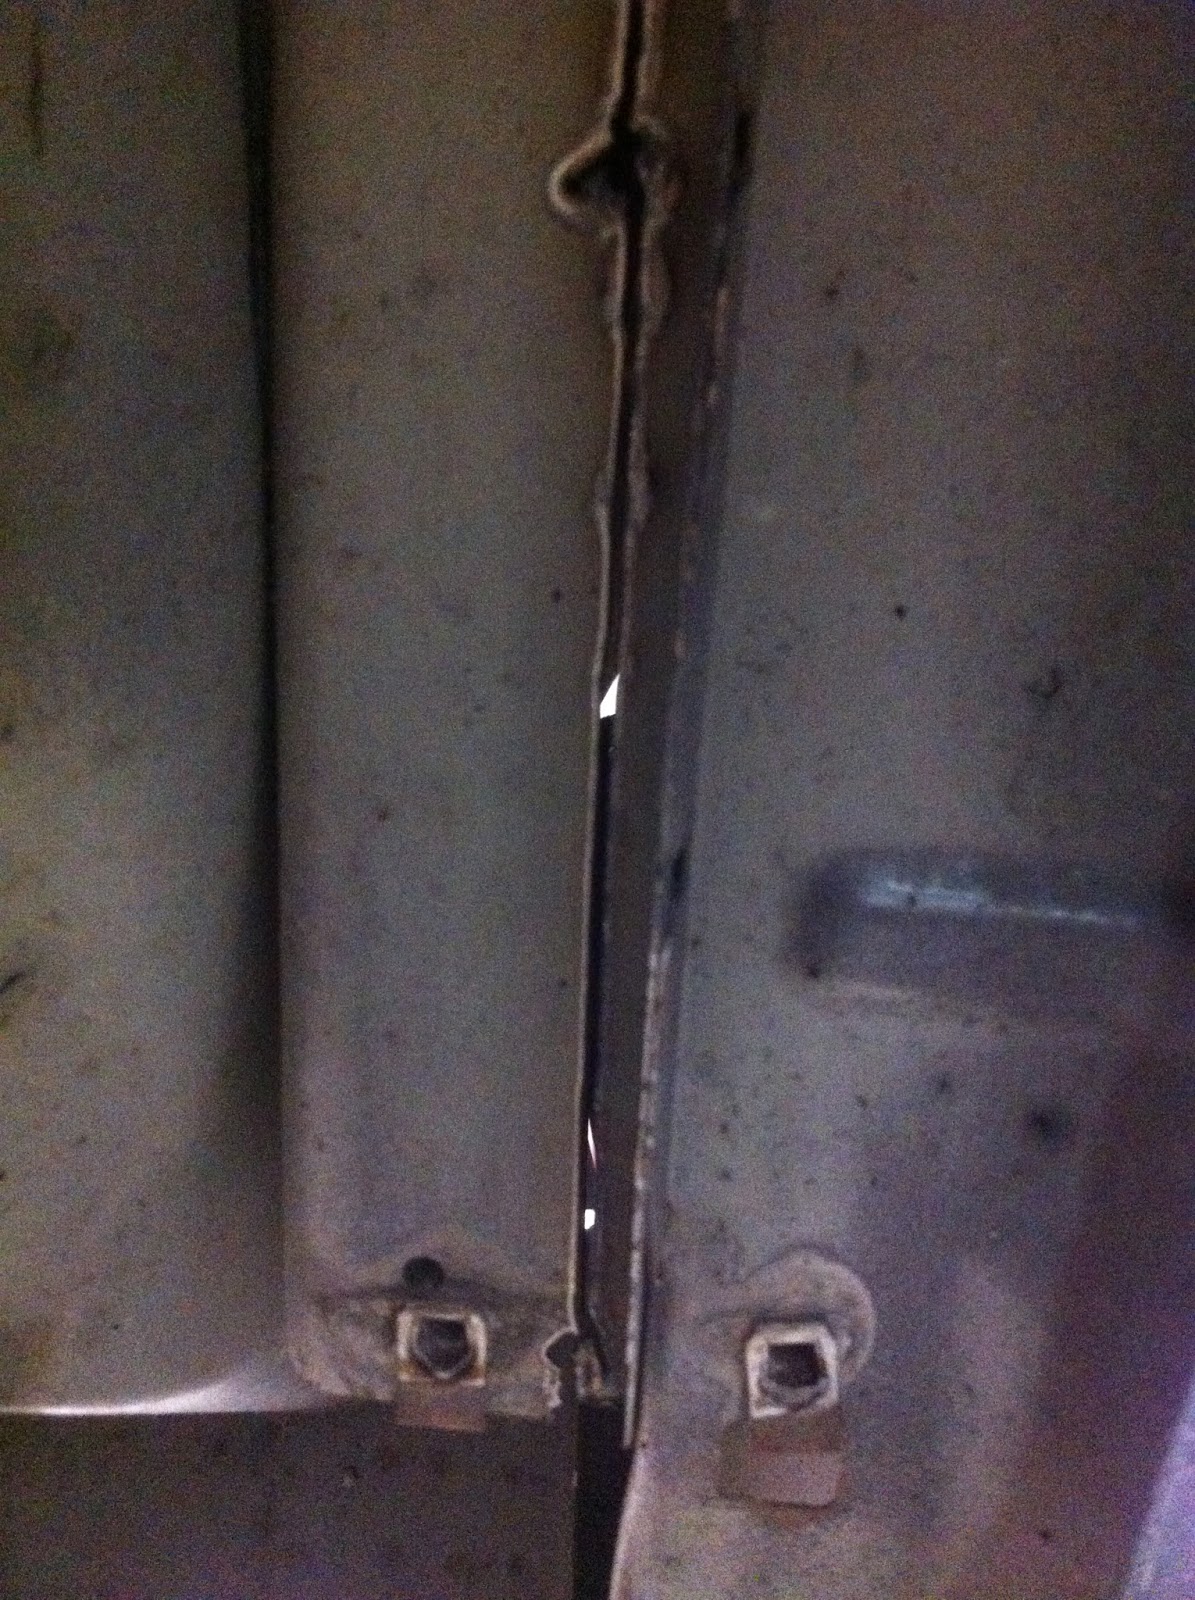
You'll have to look very careful for all the spot welds, sometimes they're hard to see through the paint.
 
To get at the front we needed to move the box away from the cab and drill out more spot welds

 
On the inner fender we opted out and used the plasma cutter to make short order of the wheel well support
 
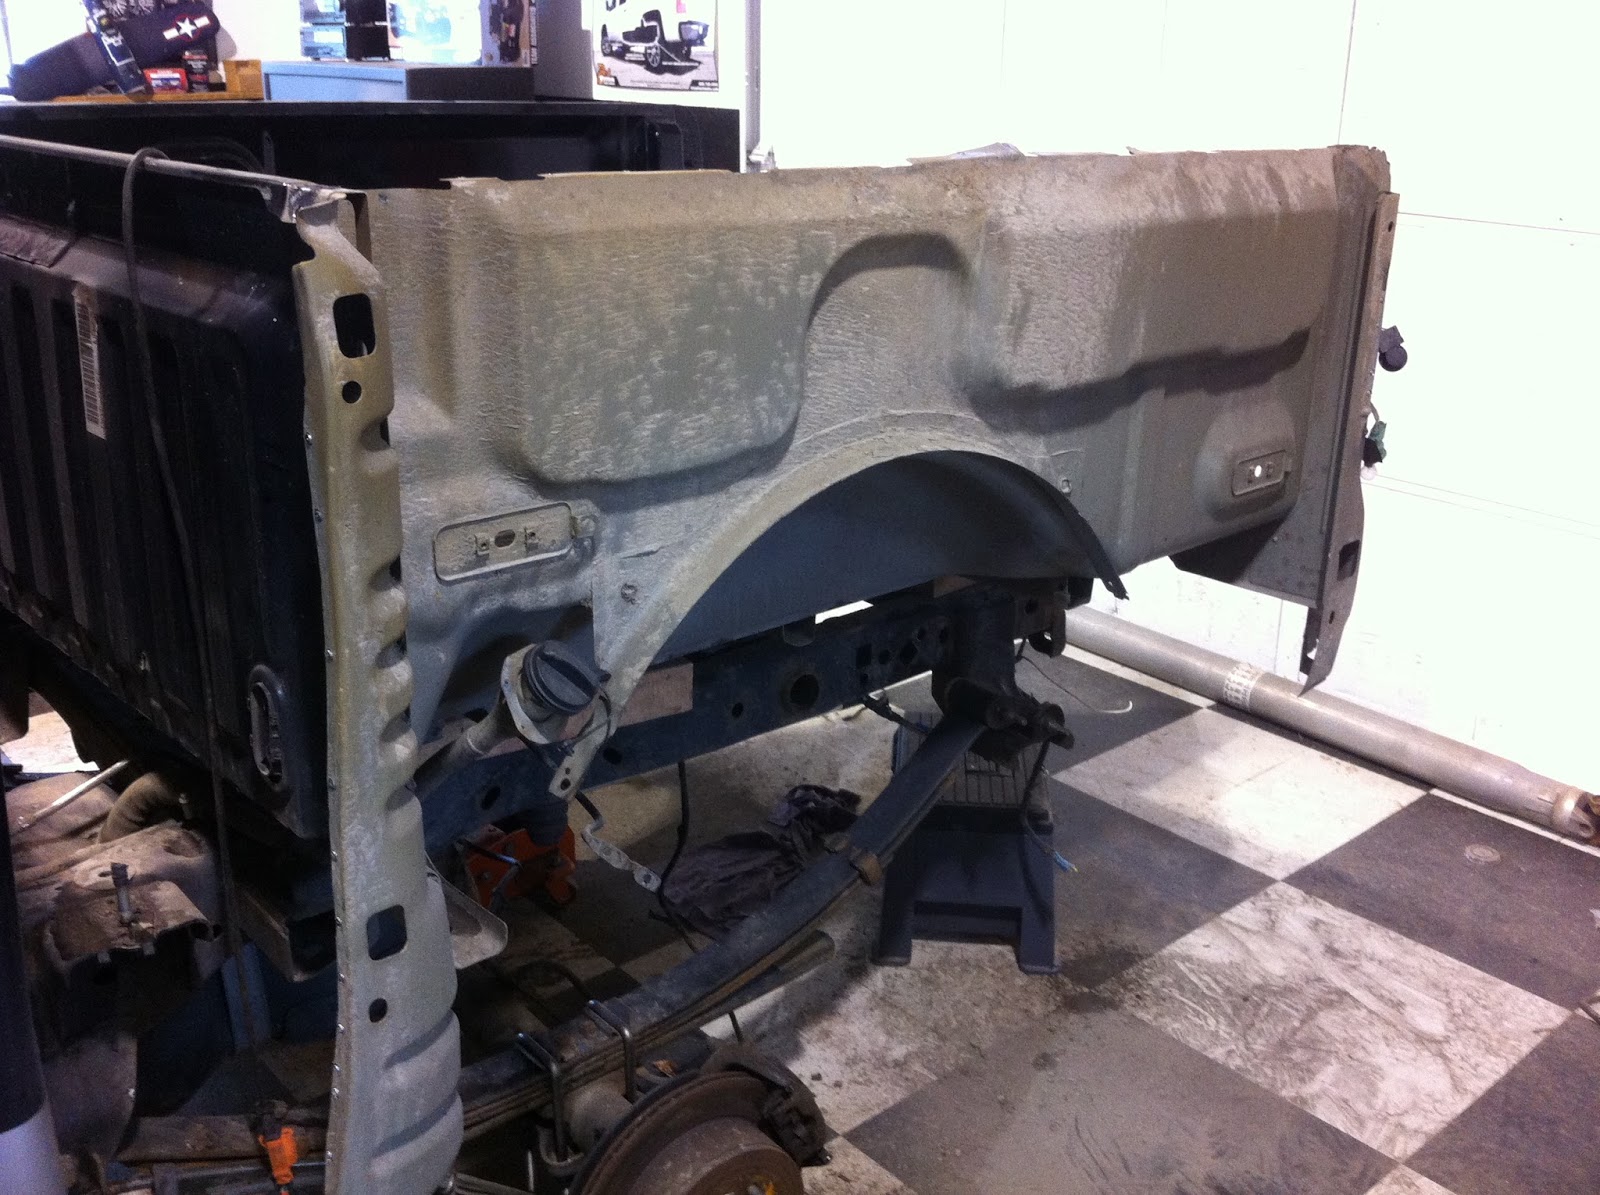
Now it's time to remove the panel


The lip that we cut previously now has to be ground down flush

 
Now for a test fit....
 
At the back of the box there's a rear brace that hangs down. We marked a line in what we needed to cut off and out come the plasma again.

 
It's a good idea to spray some sort of rock guard protection on the inside of the fiberglass panels. Reason for this is to help strengthen and protect against rocks and debris from puncturing through. 
 
 
While we're at it, might as well give the inner box panel a shot of rock guard as well
 
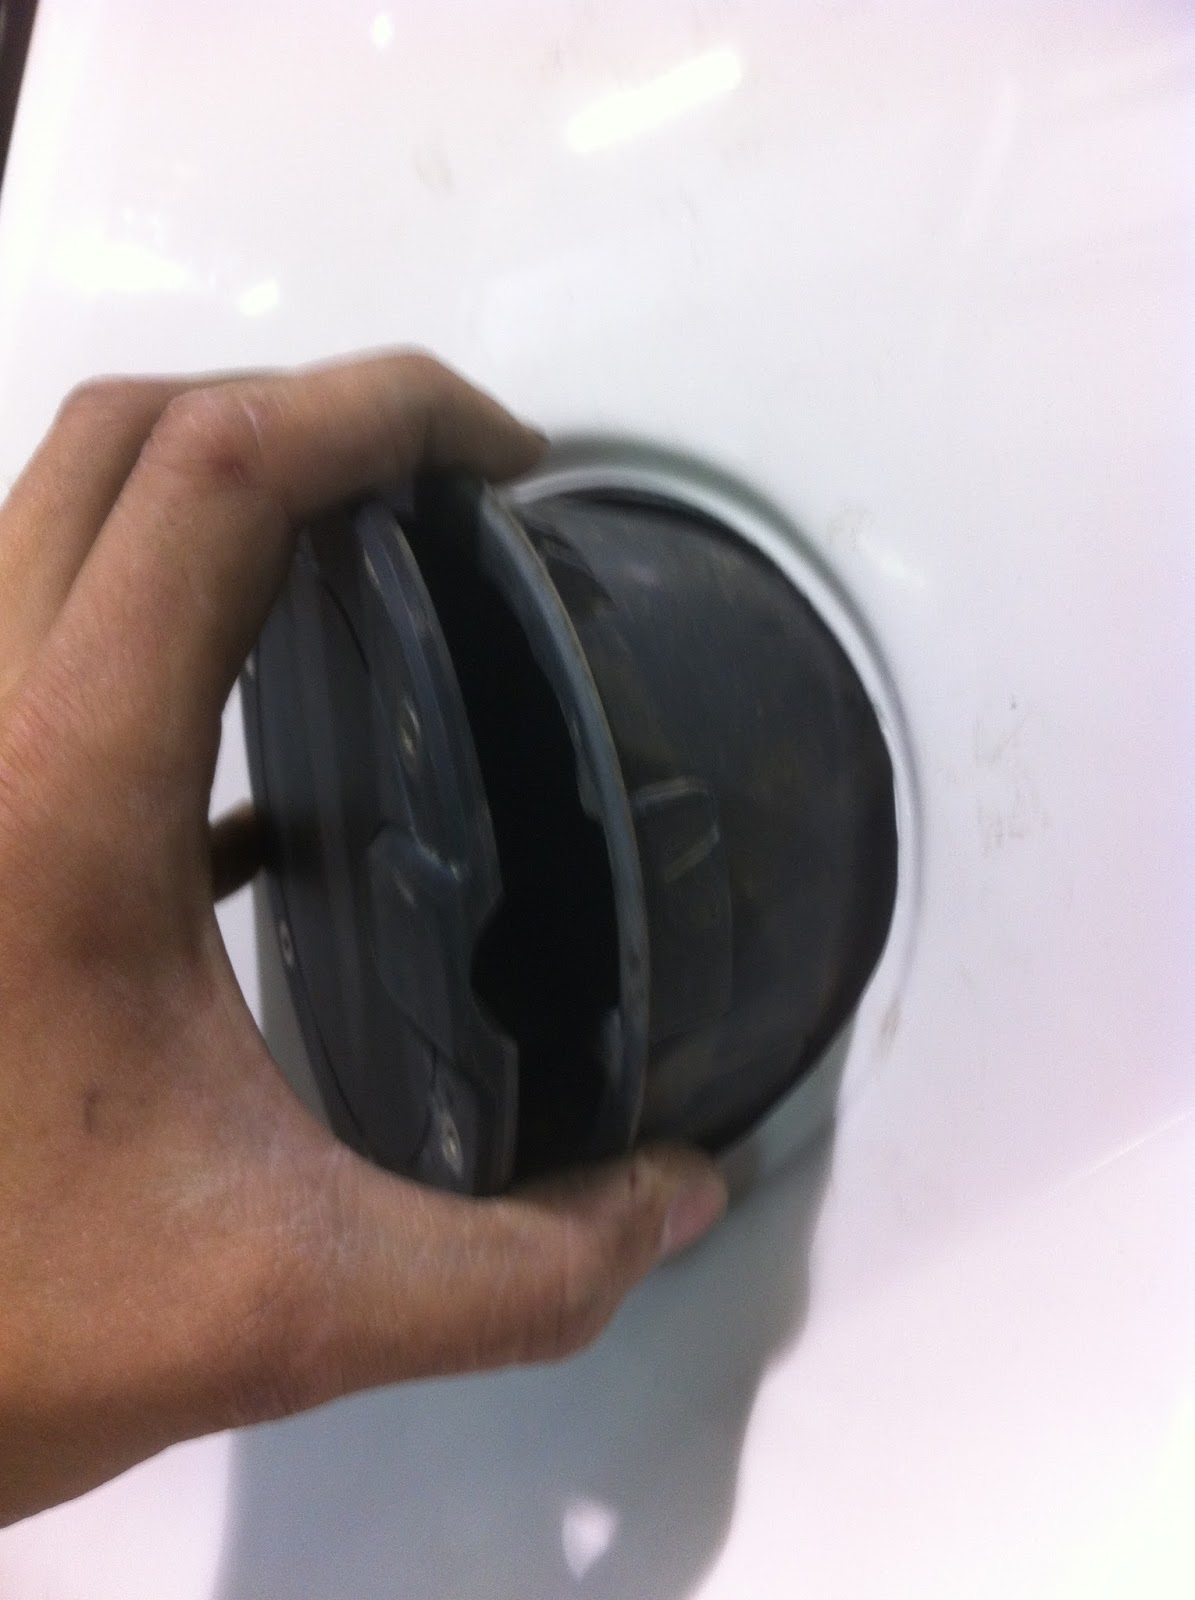
Next all the provisions for the Taillights and Fuel Door have to be cut out. All we used was a die grinder with a 3" cut-off wheel.


All that's left to be done is to mount up the bedside panel to the truck box using some self-tapping machine tech screws. Make some support brackets for the bottom of the wheel well's and that's pretty much it.
 
Not that difficult to do but takes a bit of time and patience.
That's if you don't mind cutting up your truck to get the look .....


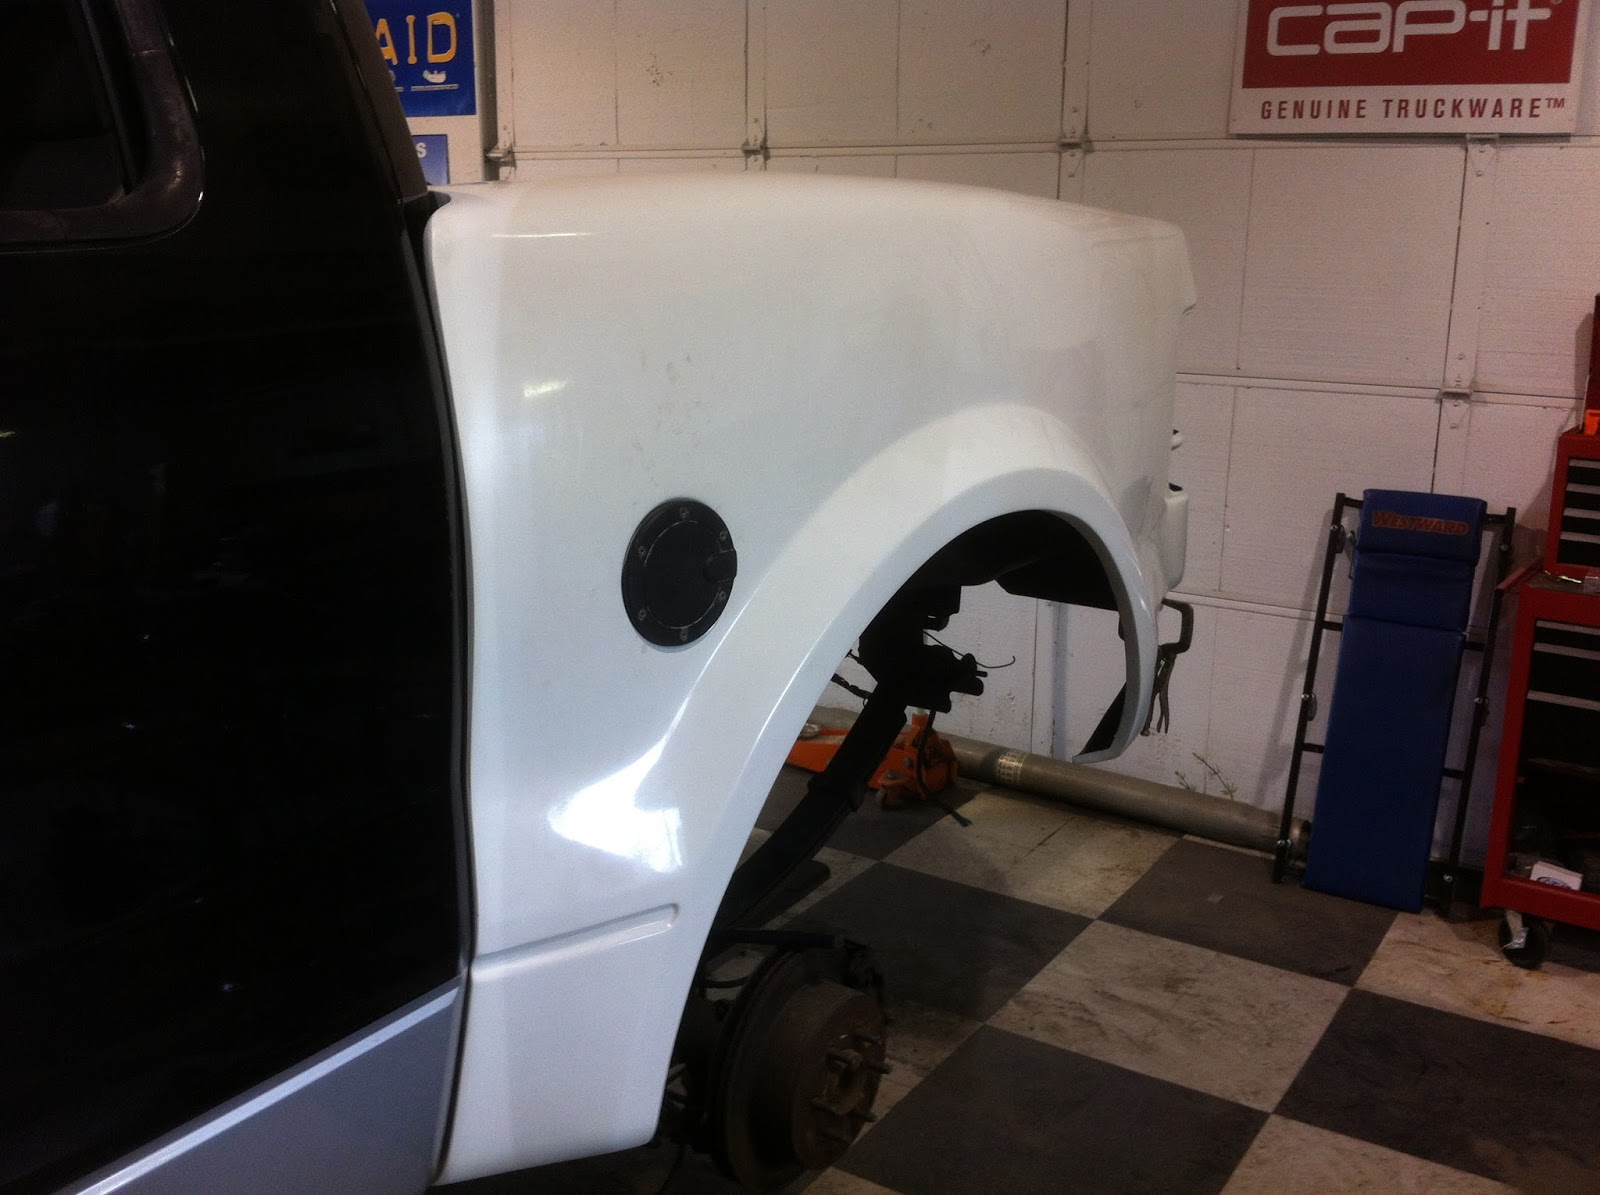
A glimpse on how the profile of the F150 is looking now

 
We'll post more updates on the Cap-it Facebook page as we make more progress with the build. Make sure to LIKE us to get the latest news and updates with Cap-it.


Tuesday, September 10, 2013

Part 5 - Tire and Wheel Upgrades

So it's been some time since our last update, so here's the latest....

For choice of tires it was an automatic decision on what to use.
MICKEY THOMPSON just released their new ATZP3 - 37x12.50x17

  • New compound with improved cut and chip protection
  • Deep, aggressive sidebiters for improved protection
  • Multi-draft grooves for self-cleaning and improved wear
  • PowerPly 3-ply sidewall construction


  • Beside being a brand new tire, Mickey Thompson recommended us to use this tire due to many Off-Road Race Teams having really good success on the track and trails.

    Contact your nearest Cap-it Store for more details about Mickey Thompson Tire & Wheels Products.

     
    As for wheels we called TRAILREADY Wheels (they are also one of our suppliers for H/D Front Bumpers) and ordered up a set of their 17x8.5 HD Beadlock Series Wheels with a Cap-it Red powder coat ring.
     
    TRAILREADY
     
    The beauty of beadlock wheels is that you really don't need a tire machine to mount the tires on. All you have to do is get some soapy solution and lube up the tire bead and push the tire onto the wheel.


    For those of you who don't know how a Beadlock wheel works, here's a short briefing on it. The majority of wheels have 2 inner lips on the wheel to where the tire locks onto. On a Beadlock wheel the wheel lip is reversed in where the tire sites on the top of it and then Beadlock Ring clamps the outside of the tire to the wheel.
     
    Off-Road enthusiast prefer this method at it limits the possibility of having the tire blowing a bead in having the tire come off the wheel.
     
     
    Now time to install the Beadlock ring with the supplied hardware
     
    To tighten up the 24 bolts to the ring, just like a tire you alternate in a criss-cross pattern which give you even pressure around the seal.
     
     
    Once your finished torqueing all the bolts down to 20lbs the actual beadlock ring will have a concave look to it. This is due to sandwiching the tire in between the ring and wheel.
     
    Now we air them up to 36lbs and check for leaks. Luckily we had none to deal with.
     
    Now for what they look like on the truck
     
    A preview on how the truck is going to look.


    Next we mount up the Fiberwerx Bedside Panels